Your vehicle is not simply transport, but it is your daily space. However, in the time between the commute, coffee journeys, and road trips the interior finds itself messy in no time: stains on the seats, dust on the dash and crumbs hiding in the corners. It’s where interior detailing comes in. It not only brings back that like-new feeling, it also makes your car a healthier, cleaner, and more enjoyable driving experience- and also preserving your car worth more in the years to come.
This guide will take us through the step-by-step interior car detailing checklist, why each area is important, and some tips to help you achieve that fresh, like new look whenever you are in your car.
Why a Clean Car Interior Really Matters?
Most individuals have time cleaning the exterior of the cars but ignore the interior where most of the time is spent. This is why it is important to detail the inside.
- Comfort & Health: Seats, mats and surfaces accumulate dust, allergens and bacteria. Cleaning on a regular basis results in a healthier environment.
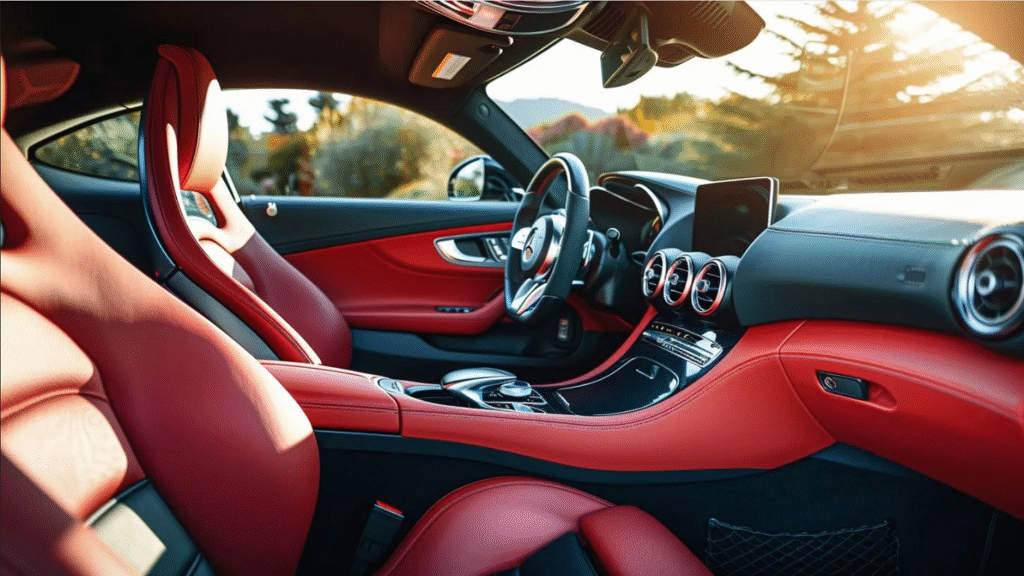
- Appearance & Pride: An interior that is well kept makes all the drives more fun. It is nice to sit in a car that appears and smells clean.
- Longevity & Value: Leather, upholstery and plastics deteriorate prematurely unless maintained. Maintaining cleanliness and condition can be used to maintain resale value.
- Safety: Soiled windows lower visibility and greasy steering wheels can interfere with your grip. Safer driving is provided by clean interiors.
Therefore, it is a habit to elaborate the interior whether you commute every day or just on weekends.
How Often Should You Detail Your Car Interior?
It is one thing to know the importance of interior detailing, but knowing the frequency of doing that makes the difference between a vehicle that remains fresh and one that seems to be neglected.
- Quick Clean (Weekly): Dispose rubbish, vacuum and wipe with hands.
- Deep Clean (Monthly): Wipe down all the panels, clean windows, and refresh air, by thoroughly vacuuming.
- Full Interior Detail (Every 3–6 Months): Condition leather, clean vents and remove odors in shampoo carpets.
- Seasonal Touch-Ups: Protect materials by bookings an additional session following winter salt, summer travels or rainy seasons.
A routine keeps the interior of your car comfortable, hygienic and keeps the value of your car long-term.
The Essential Supplies for Interior Detailing
Prepare correct tools and products before you jump in. Household cleaners may also harm the car material sometimes hence it is best to use car-specific cleaners.
Here is a quick comparison of what you will require:
Category | Essential Items |
Cleaning Tools | Vacuum with attachments, microfiber cloths, soft and stiff brushes, cotton swabs, toothbrush. |
Chemicals & Products | All purpose cleaner, upholstery shampoo, leather cleaner/conditioner, glass cleaner, odor eliminator. |
Extras | Trash bags, spray-bottles, gloves, duster, disinfecting wipes. |
Using these, you will be prepared to get all corners of your car cleaned.
Step 1: Clear Out & Vacuum Everything
The initial one is the easiest yet the most effective- eliminate the clutter. Dispose receipts, wrappers, bottles, and all other forgotten things beneath the seats or trunk.
- When the space is clean, vacuum the inside entire. Don’t simply check the obvious locations.
- Move the seats up and down to access concealed dirt.
- Apply a crevice tool to between seat and console cracks.
- Take off and clean up floor mats.
- And the trunk or the cargo area.
Vacuuming is not only about the looks but also prepares the surfaces to further cleaning in order not to spread the dirt around in the future.
Step 2: Floors, Carpets & Mats
Floor mats and carpets suffer most. Mud, dust, crumbs and spills accumulate here more than anywhere.
- Mats: Take off, shake, and wash them using an upholstery cleaner or even with the use of a power washer. Allow them to dry first and then replace them.
- Carpets: Cleanse well with a vacuum and then wash stains with a carpet shampoo. In hard-to-reach areas, a vinegar, soaps mixture is miraculous.
- Upholstery: In the case of cloth seats, clean with upholstery cleaner and a soft-bristle brush. Leather furniture and seats require a special cleaner and conditioner to avoid cracking.
This step immediately leaves the car looking fresher and inviting.
Step 3: Dashboard, Console & Touchpoints
The steering wheel, the dashboard and the console are high-touch points that are prone to dust, fingerprints, and grime. Here’s how to tackle them:
- Dust & Wipe: Begin by wiping off using a dry microfiber cloth or brush to brush off any loose dirt.
- Clean Surfaces: Clean with a non-greasy auto interior cleaning solution. Clean the dashboard, console, vents, buttons and knobs.
- Steering Wheel: This is where bacteria are deposited on hands thus disinfect it. Where leather steering wheels are involved, use leather wipes or cleaner.
- Cup Holders & Compartments: These are crumb traps. Tight places can be used with cotton swabs or small brush immersed in soapy water.
Tip: Do not apply any slippery protectants to the steering wheel or the pedals–this can make them shine but can become less grippy.
Step 4: Seats, Belts & Door Panels
Seats are the places where spill and stains leave unforgettable marks and seatbelts are usually neglected.
- Fabric Seats: Wash with shampoo or steam-clean to deep.
- Leather Seats: Wipe with a mild leather cleaner, and condition to keep them soft and stop cracks.
- Seatbelts: Wipe off using a light fabric cleaner and make sure they are dry before pulling out.
- Door Panels & Handles: Wipe plastic and condition any leather areas with protectant. Be watchful of pockets and crevices into which the dust is concealed.
This step does not only increase comfort, but it also serves to extend the life of your interior materials.
Step 5: Windows, Mirrors & Glass
Streaky windows aren’t only ugly, but unsafe. To a crystal-clear visibility:
- Clean with an ammonia-free glass cleaner (safe on tinted windows).
- Use a microfiber cloth, sprayed on to it, not directly to the glass.
- Wash in circular, dry with another cloth.
- Wipe down indoors and out, as well as the rear view mirror and sunroof.
Pro tip: Wipe the inside of the glass in a vertical direction and the outside in horizontal direction. Then you’ll know which side the streaks are on.
Step 6: Finishing Touches & Odor Elimination
After cleaning the surfaces, it is time to do the finishing touches:
- Deodorize: Sprinkle baking soda on seats and carpets to hush odors, and vacuum. In case of stronger smells, enzymatic cleaners or odor eliminator can be used.
- Air Freshening: Put a light car freshener or leave a little dish with essential oils overnight. Avoid excessive perfumes that may be excessive.
- Trunk & Door Jambs: Don’t forget these areas. Wipe door jam and trunk mats off to finalize the detail.
Quick Tips to Keep Your Car Cleaner Longer
Detailing does not need to be an annual headache. It is easy to maintain the car interior clean every day with a few habits:
- Dispose your trash each time you get out of the car.
- Have a microfiber cloth to use as a quick dust wipe.
- Keep a pack of cleaning wipes in the glove box.
- Apply condition on the leather every few months in order to avoid cracking.
- Vacuum once in a week to avoid accumulation of dirt.
Such minor actions imply less intense cleaning and a good driving atmosphere at all times.
Conclusion:
At Blix Car Wash imagine interior detailing as your reset button to your car… you find it immediately feels cleaner, fresher and more pleasant to drive. Spotless carpets, streak-free windows, soft leather seats, etc. are just a few of the things that are changed during the process to make your car look not so messy and stressful but rather inviting and comfortable.
Then, the next time you get behind the steering wheel, you may want to ask yourself: ‘’Wouldn’t it feel better if this ride looked and smelled brand new?’’ It takes the right checklist and a little time to make every drive as good as the first time you picked up your car at the dealership.